Figure Number Standards
Figure numbers identify each drawing and allow the written description to reference specific views, components, and stages of operation. Proper numbering and placement are essential for clarity and USPTO compliance. This chapter explains the required formats, placement rules, and special conventions for partial views and prior-art figures.
1. Numbering Format
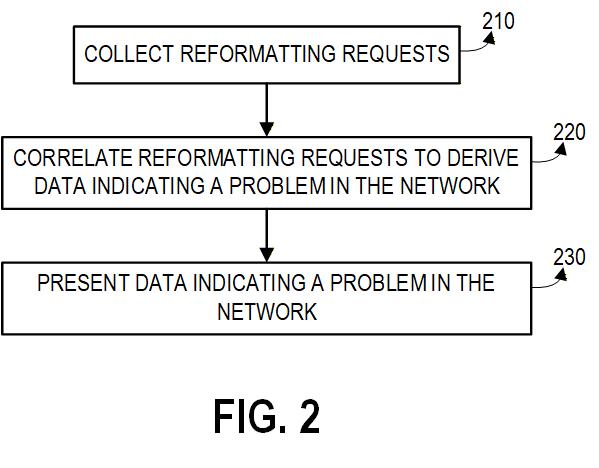
Figure 9.1 — Correct use of sequential Arabic numerals with the “FIG.” prefix.
Figures must be numbered using the following rules:
- Use consecutive Arabic numerals (FIG. 1, FIG. 2, FIG. 3…).
- Each figure number represents one figure only.
- Prefix each figure with “FIG.” or “Fig.”.
- Figure numbering must never restart on later sheets.
- Do not reuse a number, even if an earlier figure is removed or replaced.
Lettered Suffixes for Partial Views
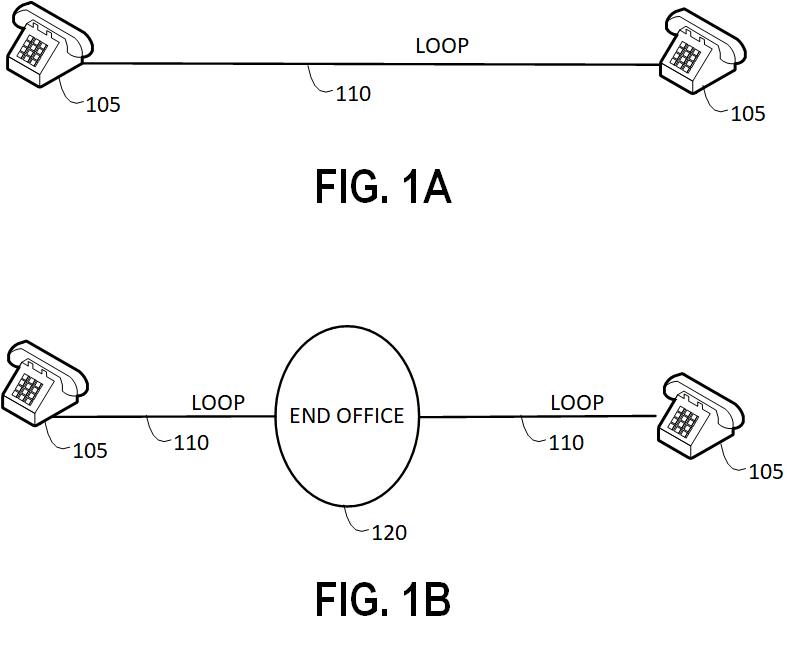
Figure 9.2 — Example of partial-view numbering using suffixes such as FIG. 1A and FIG. 1B.
Letter suffixes are used only for partial or tiled views, such as:
- FIG. 1A, FIG. 1B, FIG. 1C
These represent multiple sheets that together form one figure.
Examples:
- A long product split into two sheets → FIG. 5A / FIG. 5B
- Enlarged detail for the same figure → FIG. 7A / FIG. 7B
Lettered suffixes must always follow the base number and appear immediately after it with no dash.
2. Placement of Figure Numbers
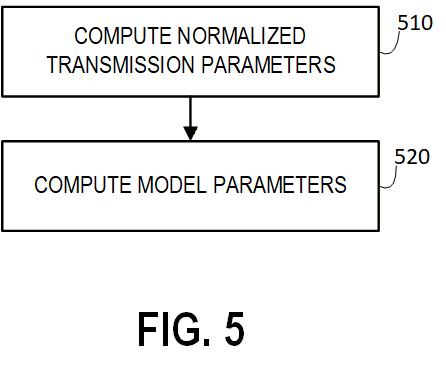
Figure 9.3 — Preferred placement of a figure number directly beneath the drawing.
Figure numbers should be placed:
- Directly below the figure (preferred and most common).
- If space is limited, the number may be placed:
- slightly to the bottom-left, or
- slightly to the bottom-right.
Placement guidelines:
- Do not place the figure number above the figure unless no other space exists.
- Keep figure numbers inside the sheet margins.
- Ensure the number does not interfere with reference numerals or lead lines.
3. Figures Depicting Prior Art
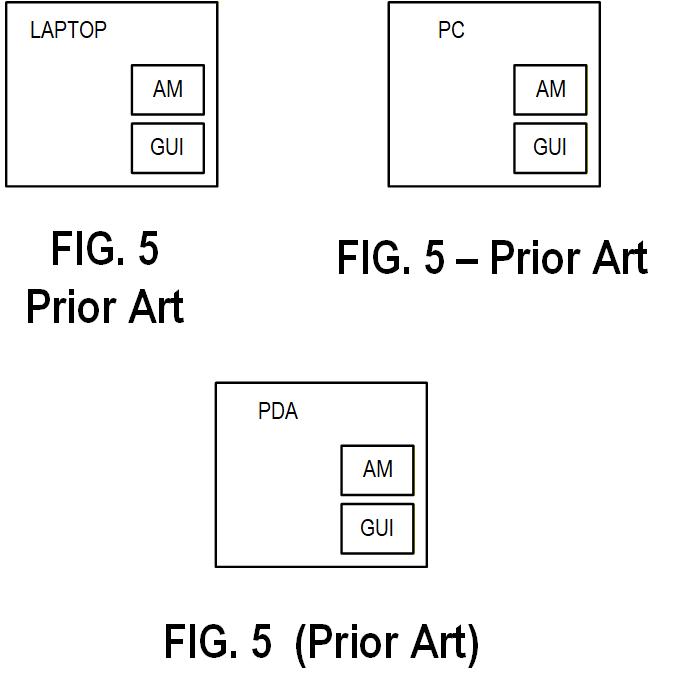
Figure 9.4 — A figure labeled as “Prior Art” using three acceptable formats: (1) “FIG. 1” with the words “Prior Art” placed immediately beneath the figure number, (2) “FIG. 1 — Prior Art” placed directly below the drawing, and (3) “FIG. 1 (Prior Art)” with the label in parentheses.
If a figure illustrates prior art rather than the invention itself, the USPTO requires explicit labeling.
Rules:
- Prior-art figures must be numbered in sequence with all other figures.
- The phrase “Prior Art” must appear next to or directly below the figure number.
- Use the same numbering style as other figures (e.g., FIG. 1, FIG. 2…).
When to Use a Prior-Art Figure
A prior-art figure is optional unless needed to:
- summarize known solutions
- show differences between known devices and your improvement
- explain a technical problem solved by your invention
The written description should clearly identify the drawing as prior art.
Summary
Proper figure numbering ensures clarity and prevents examiner objections. To remain fully compliant:
- Use sequential Arabic numerals starting from FIG. 1
- Use letter suffixes (FIG. 3A, FIG. 3B) only for partial or tiled views
- Place the figure number beneath the drawing whenever possible
- Prior-art figures must be labeled “Prior Art” and remain in numerical sequence
Following these conventions ensures every figure is clearly identified and properly referenced throughout the application.